Design Process
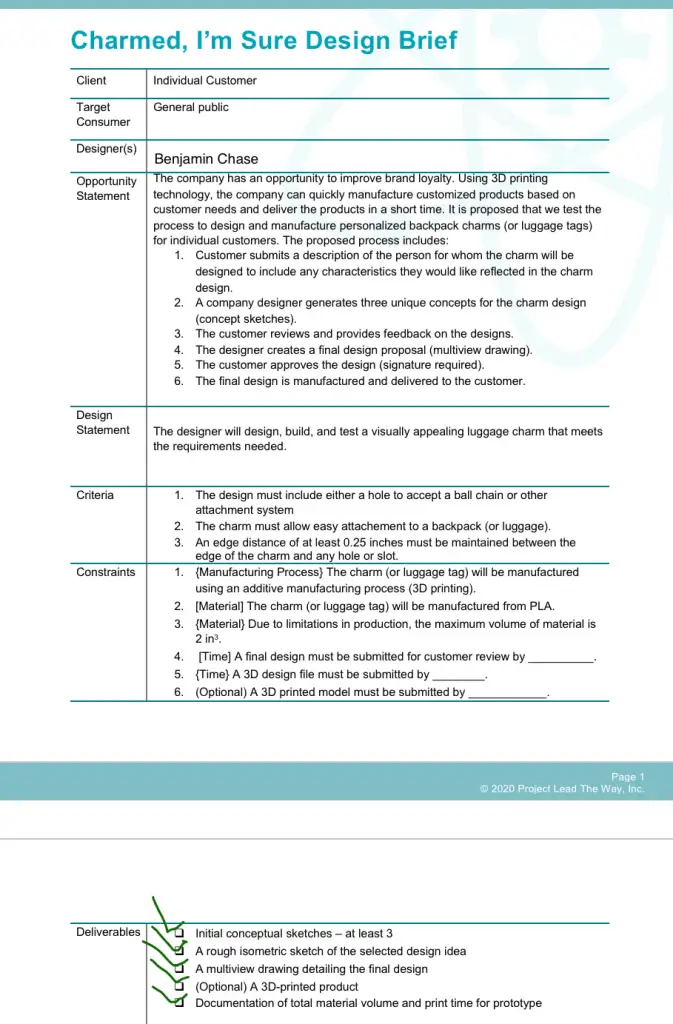
Define a Problem
Generate Concepts
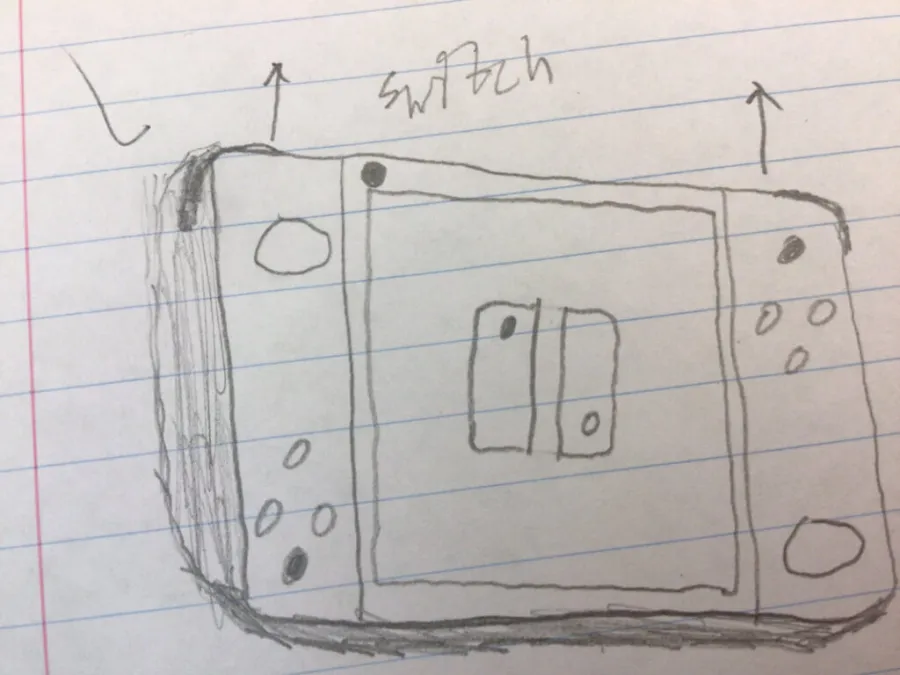
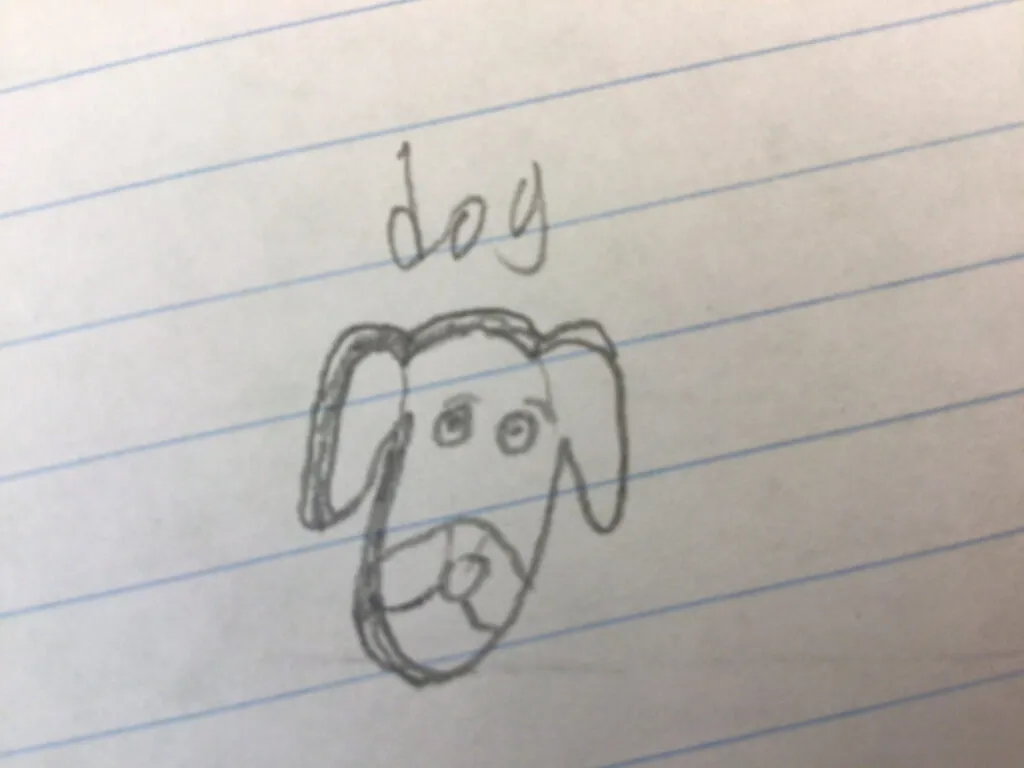
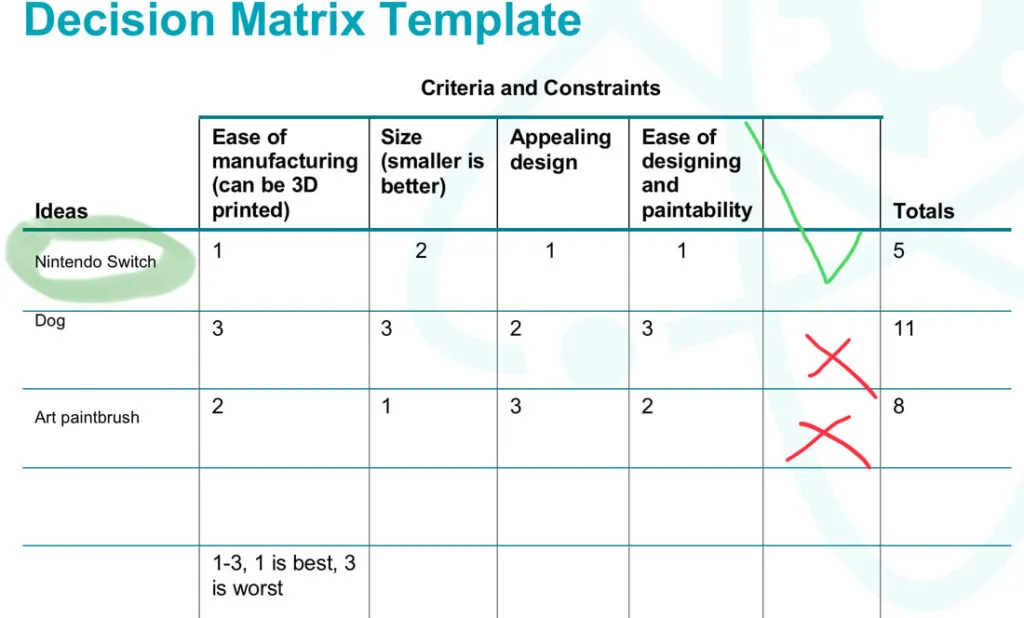
Justification for the selected design:
A Nintendo (c) Switch will be the best design since it is easy to design and 3D print, and since it will be very visually appealing.
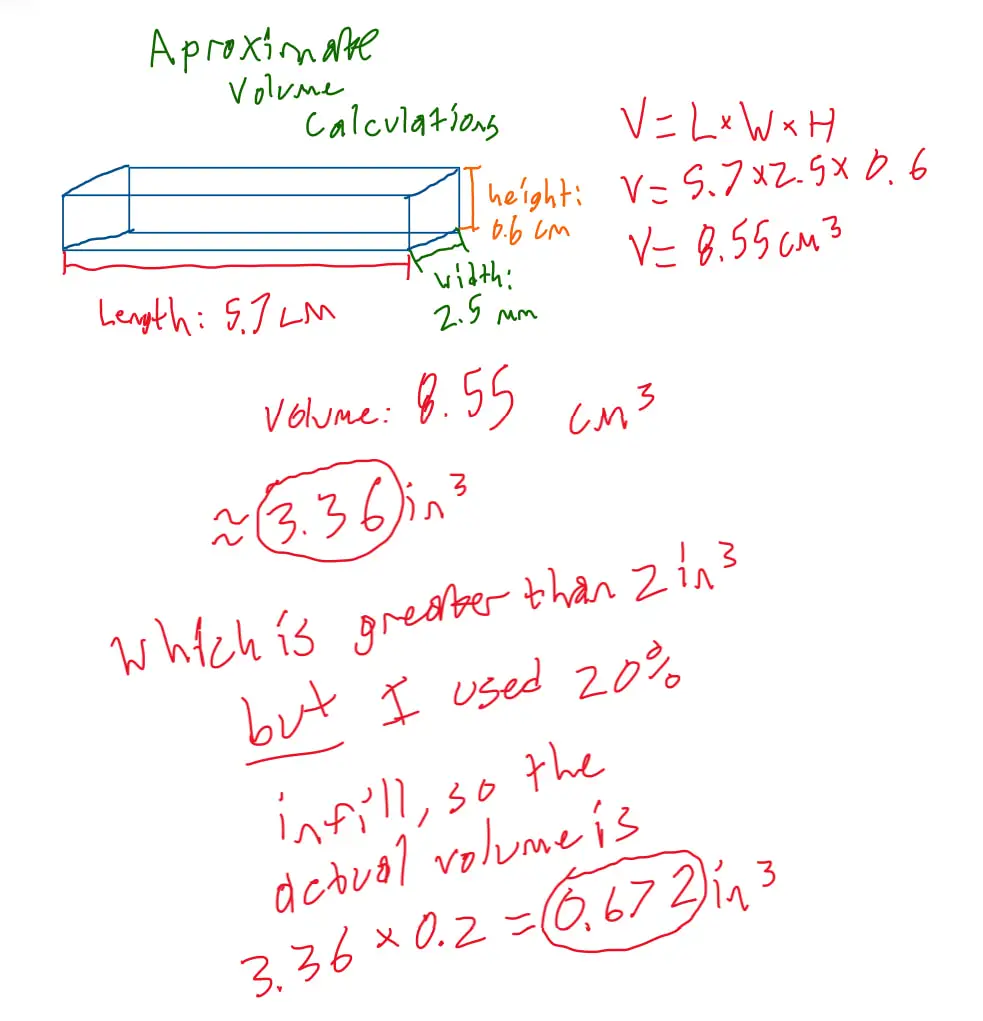
Total volume of design: 0.672 in^3 = 1.70688 cm^3
Develop a Solution
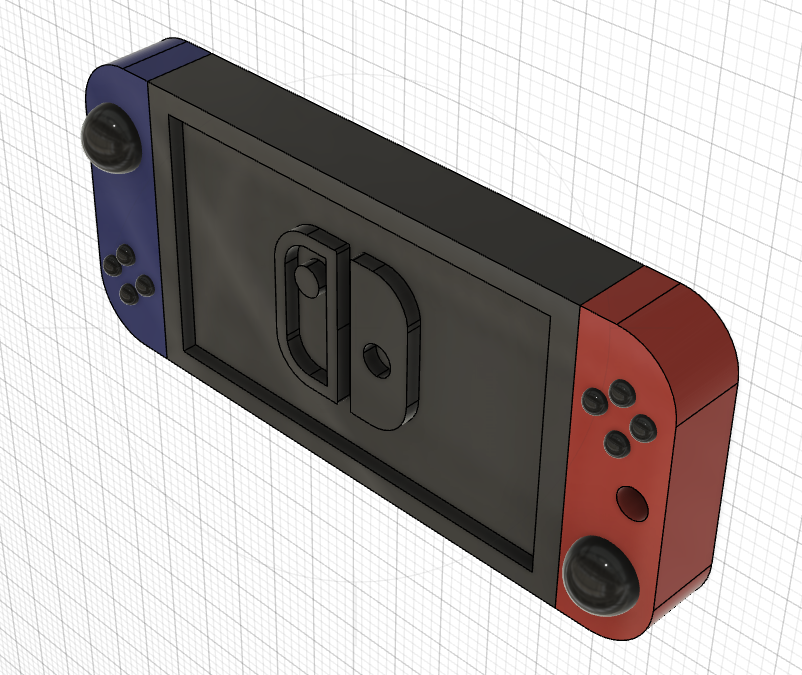
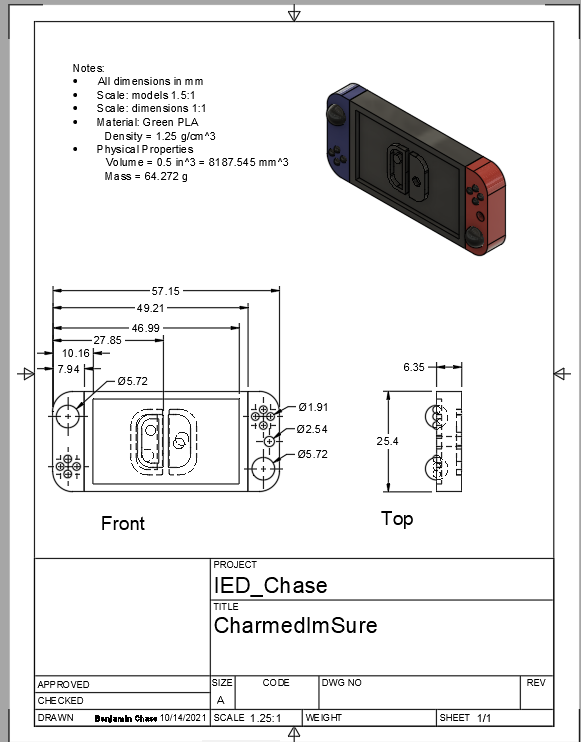
Construct and Test Prototype
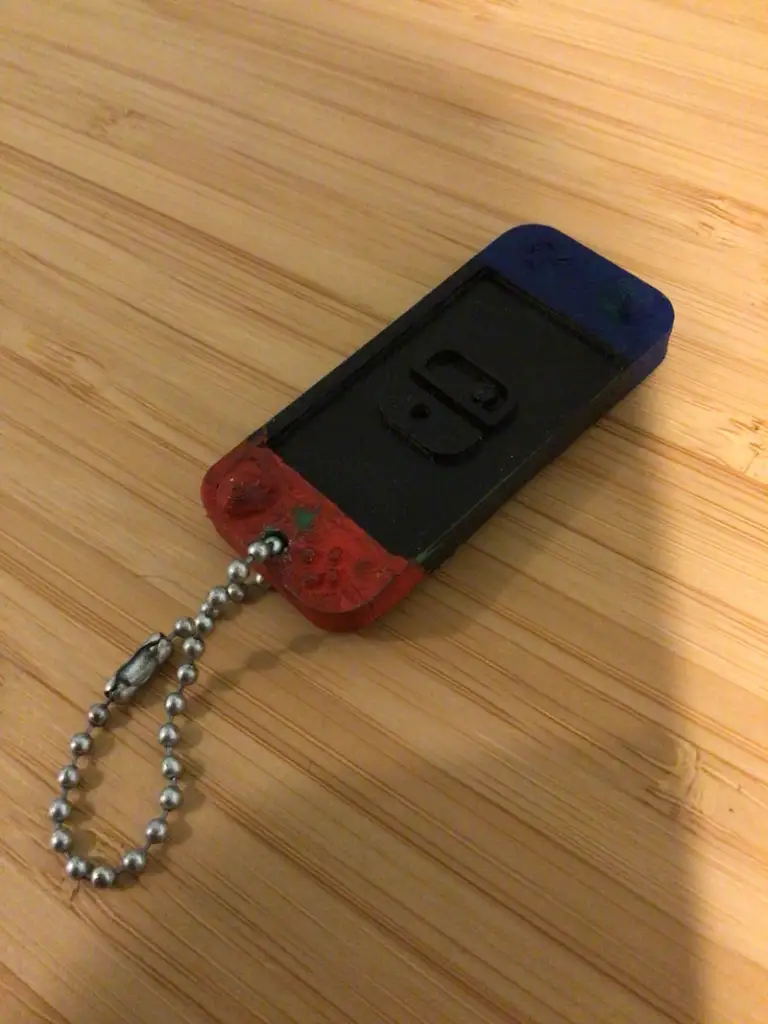
I made the hole very slightly too small. A bit of work with a Dremel Tool made the hole big enough for the chain to fit through.
I learned that a company making charms would need to test all the charms with chains too since design specifications are not completely exact.
When 3D printing, you have to account for the thickness of a layer and width of the lines of filament.
Also, the design can warp while 3D printing.
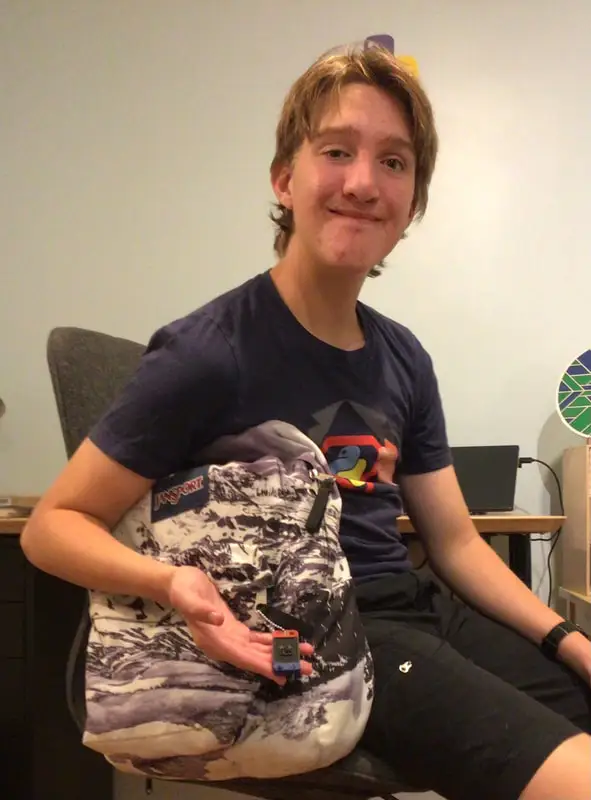
The charm works great on a backpack. It is not clunky, and is very visually appealing.
From my experience with enlarging the hole using a paper clip and Dremel Tool, I discovered that PLA plastic is actually quite rigid
and is harder to dent than it seems. This means the charm will keep it's shape and will not break under normal circumstances
(such as a backpack hitting the ground and falling over, the force will not noticeably damage the charm).
Evaluate Solution

Cost Calculations:
x = design hours spent on project
V = volume of final product (I am using the version with 20% infill since that is the settings I used on the 3D printer)
t = time to print product
d = density of material
x = 2 hours
V =1.70688 cm^3
t = 1 hour
d = 1.25 g/cm^3
Cost of filament per gram:
for PLA: ($30/0.5kg)(1kg/1000g) = $0.06 per gram for PLA
Total Cost = ($30 per hour)x + ($0.06 per gram)(d)(V) + ($0.80)t
Total Cost = ($30 per hour)(2 hours)+($0.06 per gram of PLA filament)(1.25g/cm^3)(1.70688 cm^3) + ($0.80)(1 hour to print) = $60.928016
or about $60.93 per part
Present Solution
1. The final product aligns with the design statement. The charm also meets all its constraints,
even though I had to account for the 20% infill when calculating the volume to meet the 2in^3 constraint.
Other than that, I met all the constraints completely. My partner really liked my design and how I painted it.
I guess I could have used my time a bit more wisely in order to get the design made faster.
I made my design so it would not need any supports while 3D printing, so I used material well.
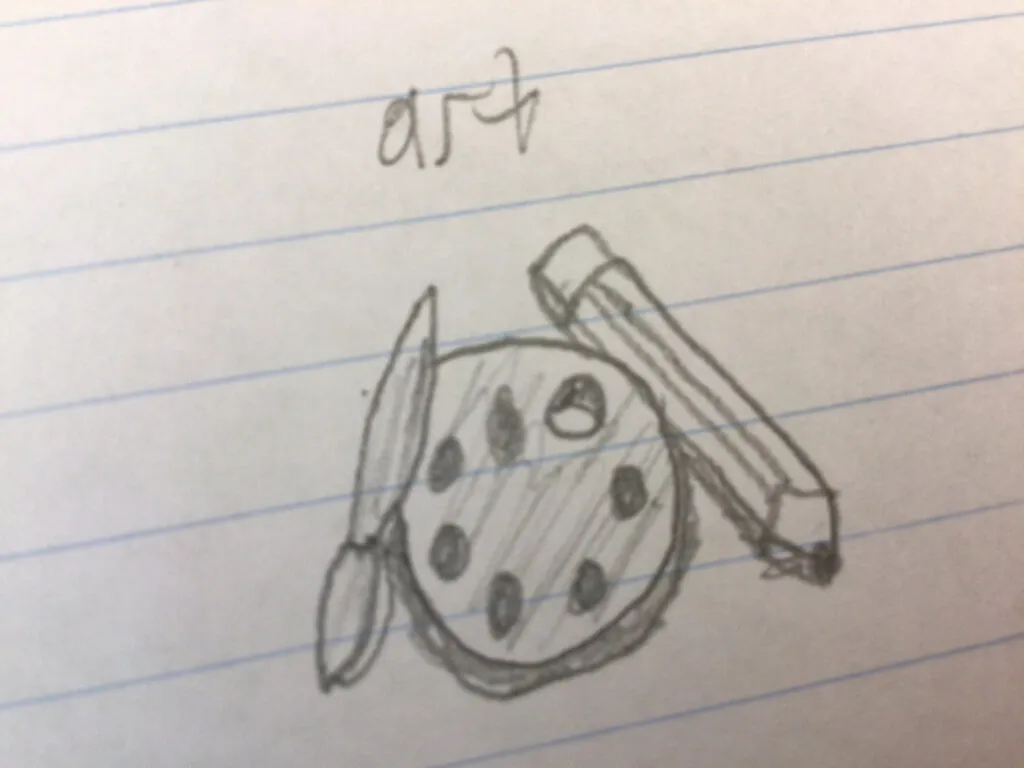
2. First, I made concept sketches. These were very limited, had no dimensions, and were only to get my ideas on paper.
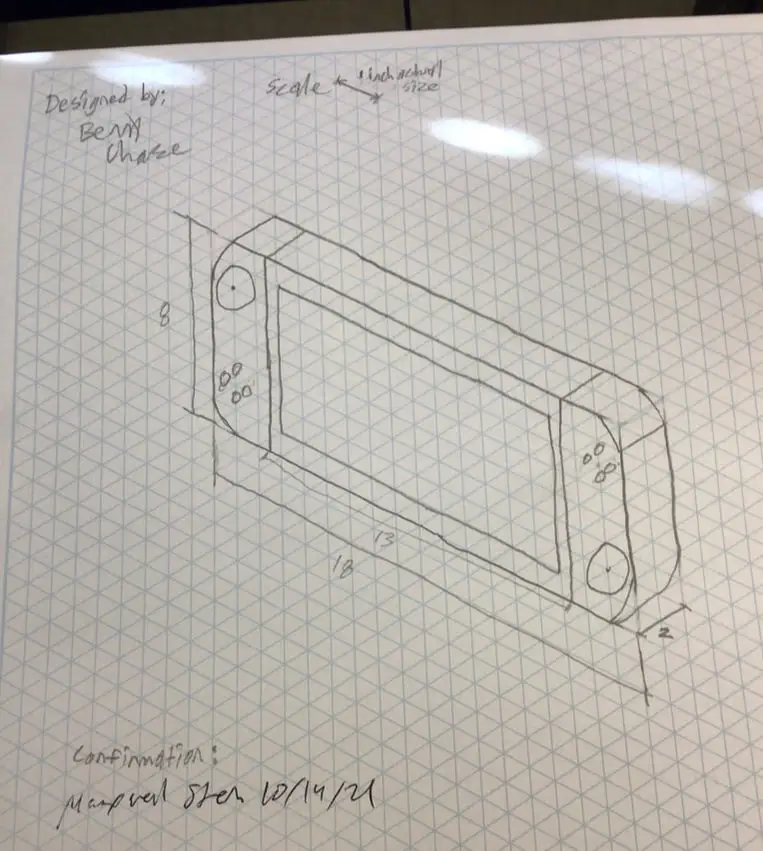
Next, I made an isometric sketch which showed some dimensions and was a lot neater than the origional sketches.
After that, I used Fusion 360 to model my design in a 3D CAD environment. Here, I could find design vulnerabilities while designing.
I could also make the dimensions exact. I could even export it as an STL file to 3D print! Next, I made an engineering drawing using Fusion 360.
This had very accurate dimensions, and showed what the model looked like from multiple sides.
This is useful if you need the dimensions of a design. Lastly, I 3D printed my model using a 3D printer.
Finally, it was reality! Now, you can actually hang it on a bookbag, whereas before you cannot hang a monitor with your design on it on a bookbag. There is one limitation though: it is hard to modify this final real design. It would be easiest to change the model and reprint.
3. I learned that the costs add up pretty quickly, and $60+ is not very appealing for a simple luggage charm.
To really profit and get lots of clients, a company would have to mass produce popular charms.
Or, the company would have to let the clients design the charm themselves, maybe just in 2D.
On top of that, 3D printing can be expensive for a company
There are the costs of the 3D printers and the filament, plus all the personel operating the 3D printers.
A more realistic solution for a company would be injection moulding for mass producing backpack charms.
It also takes a lot of time to create the models.
All in all, I think it would be hard for a company to profit from making backpack charms.
But maybe if people really want an overpriced custom luggage charm out of cheap PLA filament…